Hike to Crooked Falls in Squamish
When you think of waterfalls in Squamish, you think of Shannon Falls or maybe Brandywine Falls. Those are both amazingly tall waterfalls with easy tourist-in-flipflops-friendly walks to a viewing platform, overflowing parking lots and tons of people with selfie sticks.. But what if I told you there were other awesome waterfalls in Squamish that you could actually hike to, then have them all to yourself? Welcome to Crooked Falls in Squamish!
This waterfall is interesting because… well it’s crooked, like the name. In cascades down the Sigurd Creek directly into a rock bluff, where it makes a sharp 90 degree turn before flowing downhill. And you get to stand on the rock bluff! (I shot the video from there.) It’s a bit of a drive to get there, but the hike isn’t too difficult and the views are certainly worth it.
Driving Directions to Crooked Falls
Click for full driving directions from Vancouver . (But if you do use these directions, be aware that you will lose cell service outside Squamish so you’ll need an off-line version of the map).
Drive highway 99 to Squamish. North of Squamish turn west (left) on to Squamish Valley road – this is the same intersection as the entrance to Alice Lake Provincial Park, but you want the road on the other side of the highway. Follow this road to a bridge over the Cheakamus River. Immediately after the bridge the road forks – go left to stay on the Squamish Valley road. The road has speed bumps as it passes through the Cheakamus Indian Reserve. Follow this road for about 19km past some homes and ranches to the end of the pavement.
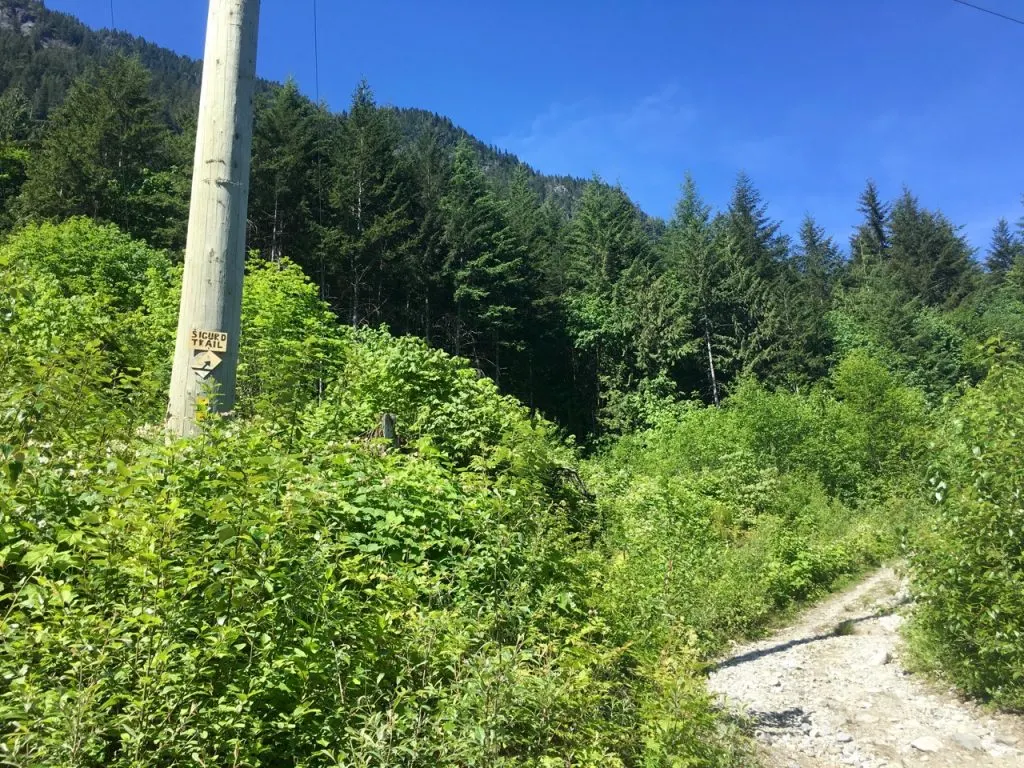
Past here you will be on the Squamish Forest Service Road, which is gravel and can be dusty, but any 2WD drive car can make it to the trailhead. About 1km after the road turns to gravel, watch for a big bridge on your left – it may be signed Ashlu Main Forest Service Road or Squamish Riverside Campground. Turn left to cross the big bridge, go past the campground (on your right), then cross another smaller bridge. Stay on the main Ashlu road for another 2km or so, then cross two smaller bridges over the Ashlu river. Right after the second bridge, park your car. The overgrown logging road heading uphill on the lefthand side of the road is the trailhead (and it has a sign that says Sigurd Trail).
Crooked Falls Hike
Distance: 7km round trip
Elevation gain: About 400m
Hikeable all year round since maximum elevation is around 500m so you are unlikely to encounter snow in the winter. Best in the spring if you want to see the falls at maximum flow.
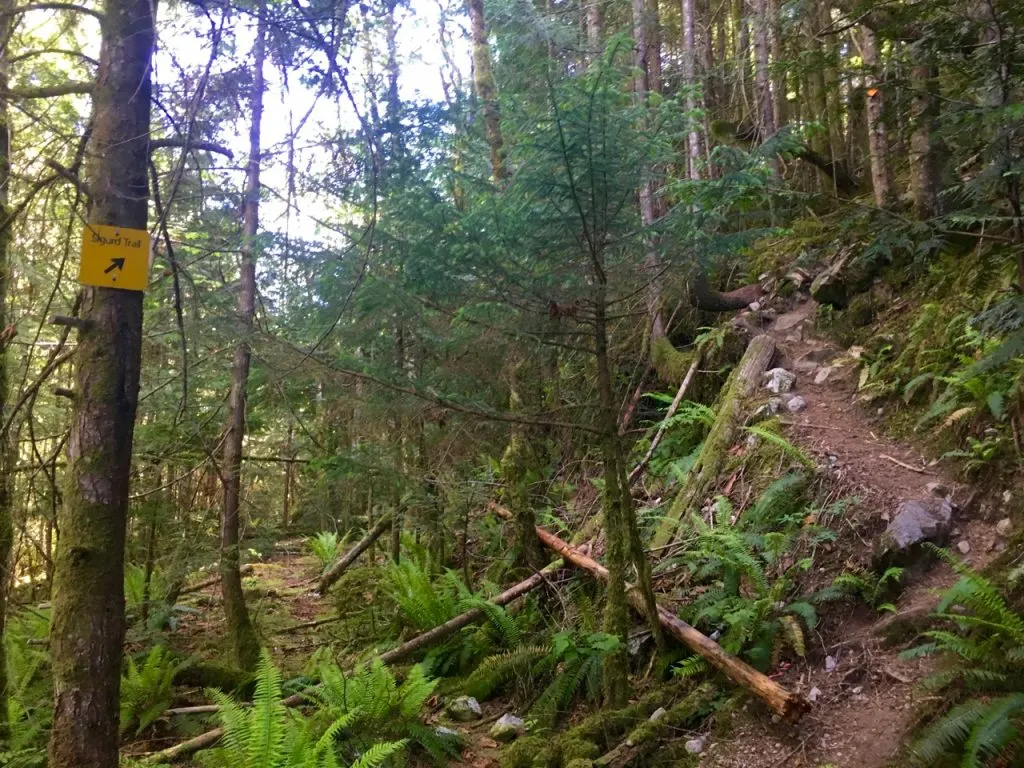
The BCMC (British Columbia Mountaineering Club) built and maintains the trail as it accesses some mountaineering and scrambling objectives higher up the mountain. The trail is well-built and well marked with orange squares so it is easy to follow. From the trailhead where you parked your car walk about 15 minutes uphill on the old road. At a switchback where the road curves right, look for a trail heading left with a “Sigurd Trail” sign.
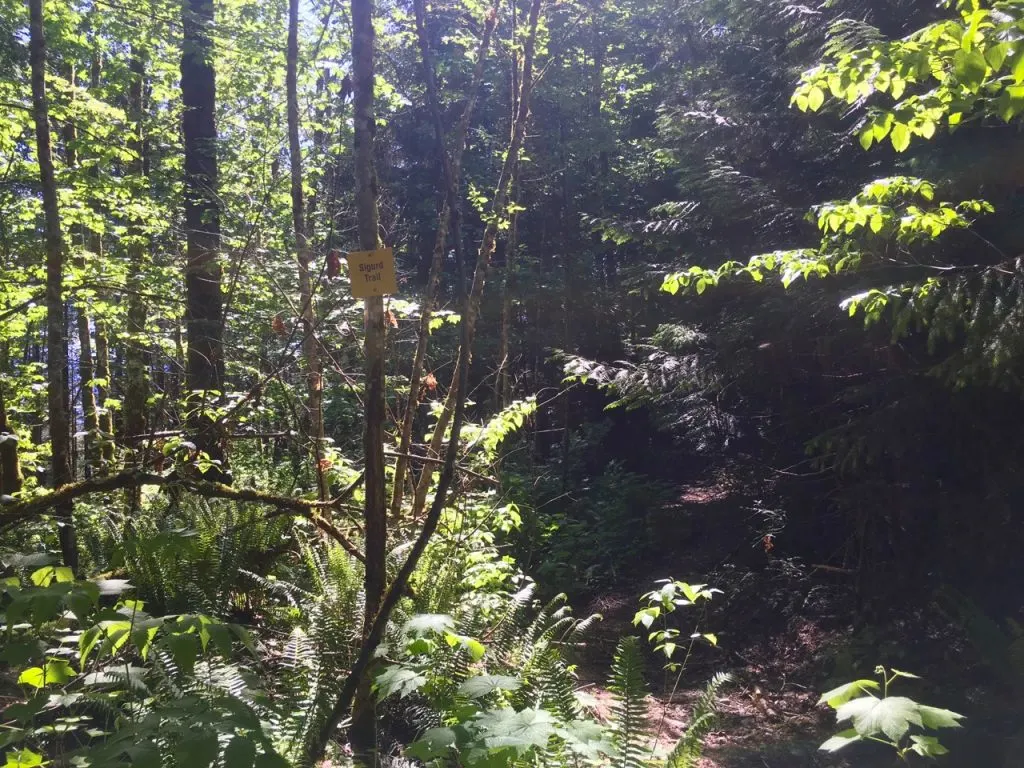
At this point you are on a narrow trail that sometimes widens up enough for you to tell that you are on another, even older road. You’ll pass below a huge rock wall covered in dripping moss and get glimpses of the Squamish valley through the trees. After a few hundred meters you’ll pass another trail sign indicating that the trail heads sharply up the hill.
The trail climbs steeply uphill for a few minutes before popping out on a rocky bluff with a great view of the Squamish River valley.
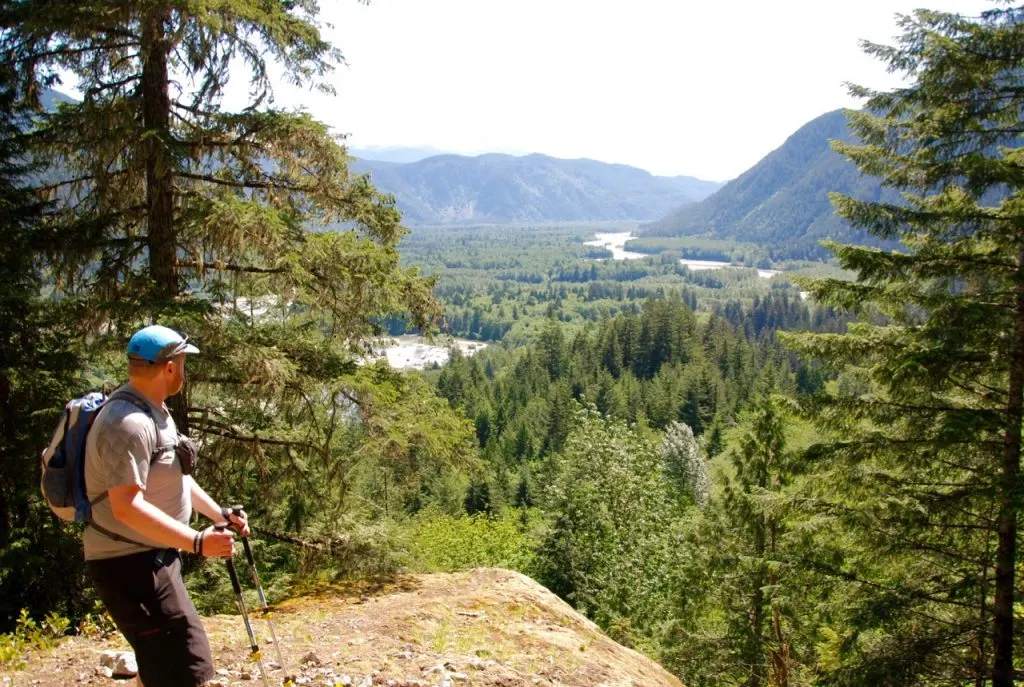
Past the viewpoint the trail climbs steeply with a few breaks and passes lots of mossy rock walls, a giant boulder and a few patches of more mellow forest.
The trail climbs steeply uphill for a few minutes before popping out on a rocky bluff with a great view of the Squamish River valley.
Past the viewpoint the trail climbs steeply with a few breaks and passes lots of mossy rock walls, a giant boulder and a few patches of more mellow forest.